Introduction
I got the idea for using a calculator for a TDD problem from a few different people. The first time I tried it, I decided to create an Rpn calculator rather than an infix calculator because I’m a geek and I prefer them. I rediscovered that Rpn calculators are generally easier to create. HP demonstrated this in 1967 with a $5000, 4-function, 3-number calculator that weighed just under 50 pounds, which was an amazing accomplishment.
Background
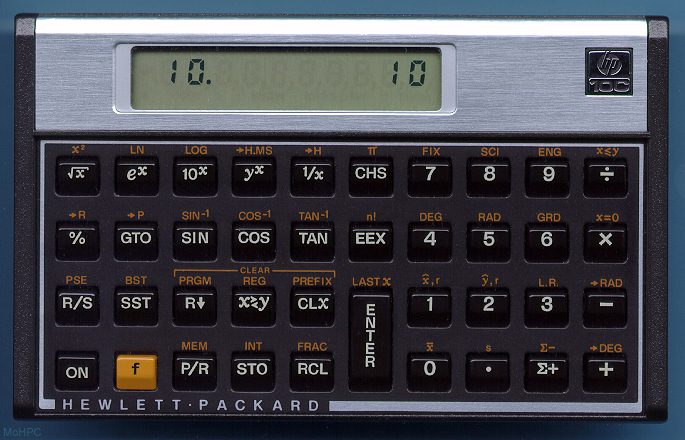
An Rpn Calculator allows you to calculate results without having to use parenthesis. Here is an image of an HP 10 calculator (from http://www.hpmuseum.org):
 {align=”center”}
A few more links:
{align=”center”}
A few more links:
- Here is the manual for my HP 32SII.
- http://www.hpmuseum.org/
- Interesting read of the early history of HP’s calculators.
Note that for this problem I generally do not fully simulate the calculator. There is one significant difference, which I’ll leave as an exercise for you to discover.
The Problem
Basic calculations on an Rpn Calculator are different from “normal” calculators. What follows are some examples of interactions with the calculator to demonstrate that. Note:
- <> is used to denote a key,
- for brevity, we do not use <> for the digit keys
Basic Arithmetic
Basic arithmetic generally involves entering one or more operands and then hitting an operator. The operands come before the operator. Consider each row in the table a separate example, each staring with a fresh calculator:
| Calculation | Result |
342 <enter> 5 * |
> 1710 |
4 * |
> 0 |
5.3 <enter> 2 - |
> 3.3 |
5 <n!> |
> 120 |
Notice that earlier operands are “to the left” while later operands are “to the right”. E.g., 5.3 <enter> 2 - resulted in 3.3, not -3.3.
Stack Stuff
A basic HP calculator has 4 registers: x, y, z, t – the x register is also known as the accumulator.
The <enter> key pushes things on the stack. What follows is an example of what the stack
looks like in a little more detail. Note that for our purposes, we can have any number of values rather than just 4.
In this example, each row is a continuation of the previous rows. This is one big example:
| Value Entered | X | Y | Z | T |
| > 45 | > 45 | > 0 | > 0 | > 0 |
<enter> |
> 45 | > 45 | > 0 | > 0 |
| > 1 | > 1 | > 45 | > 0 | > 0 |
<enter> |
> 1 | > 1 | > 45 | > 0 |
| > 56 | > 56 | > 1 | > 45 | > 0 |
<enter> |
> 56 | > 56 | > 1 | > 45 |
| > 66 | > 66 | > 56 | > 1 | > 45 |
Entry Mode
The calculator has three “modes” of data entry:
- Initially, as you press digits, they are accumulated in the x register.
- Upon pressing
<enter>, the X register is pushed into the Y register (but the Y register is first pushed into the Z register, but the Z register is pushed into the rest of the stack (ad infinitum) - The first digit pressed after the
<enter>key replaces the X register and subsequent digits are accumulated (same as the initial state) - Upon pressing other operators, e.g., +, -, n~, y^x, the operator acquires its operands, performs the calculation, places the result back in the X register (pushes actually). The next digit press causes the X register to be copied (rather than replaced), and then the calculator continues accumulating values in the X register.
Here is another example. And as with the previous example, each row builds on the previous rows:
| Entry | X | Y | Z | T |
| > 123 | > 123 | > 0 | > 0 | > 0 |
<enter> |
> 123 | > 123 | > 0 | > 0 |
| > 43 | > 43 | > 123 | > 0 | > 0 |
| + | 166 | > 0 | > 0 | > 0 |
| > 321 | > 321 | > 166 | > 0 | > 0 |
<enter> |
> 321 | > 321 | > 166 | > 0 |
<enter> |
> 321 | > 321 | > 321 | > 166 |
| + | > 642 | > 321 | > 166 | > 0 |
| - | > -321 | > 166 | > 0 | > 0 |
| + | > -155 | > 0 | > 0 | > 0 |
| - | > 155 | > 0 | > 0 | > 0 |
| - | > -155 | > 0 | > 0 | > 0 |

Comments